
Intro
Updated as of: 11/14/2023
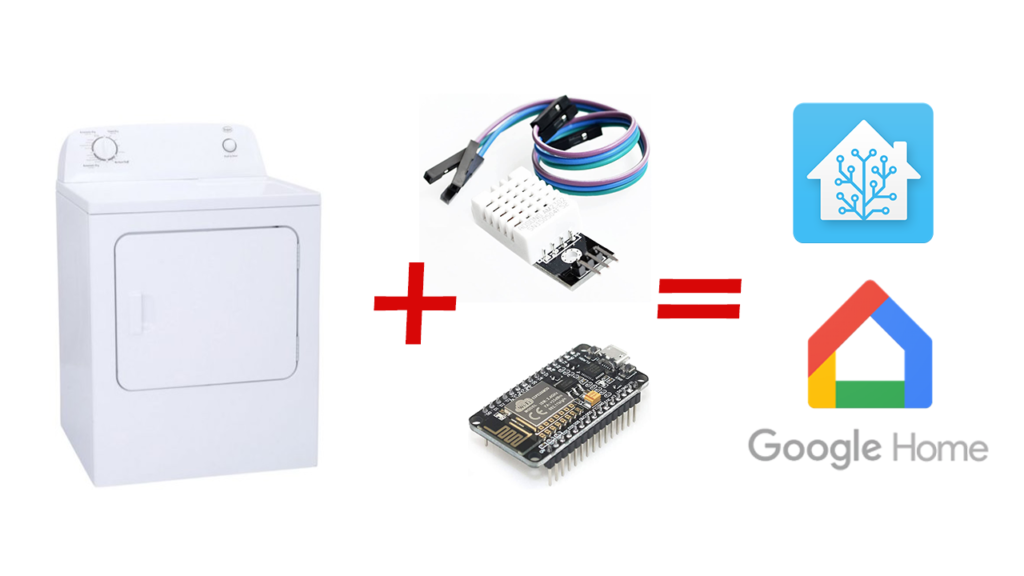
Most people would say “just buy a better dryer”. Well, I say where’s the fun in that?!
Also worth noting: I am still using the original sensor and NodeMCU after almost 3 years and at least 50 loads of clothes later.
What you’ll need
1. DHT22 Temp / Humidity Sensor
2. ESP8266 device such as a Node MCU or a Wemos D1 Mini
3. MicroUSB Charger to power it. I had a bunch laying around from old cell phones so didn’t need to buy one
4. Dupont jumper wires (typically come with the sensor)
5. A Home Assistant server up and running
6. Coffee
How to do it
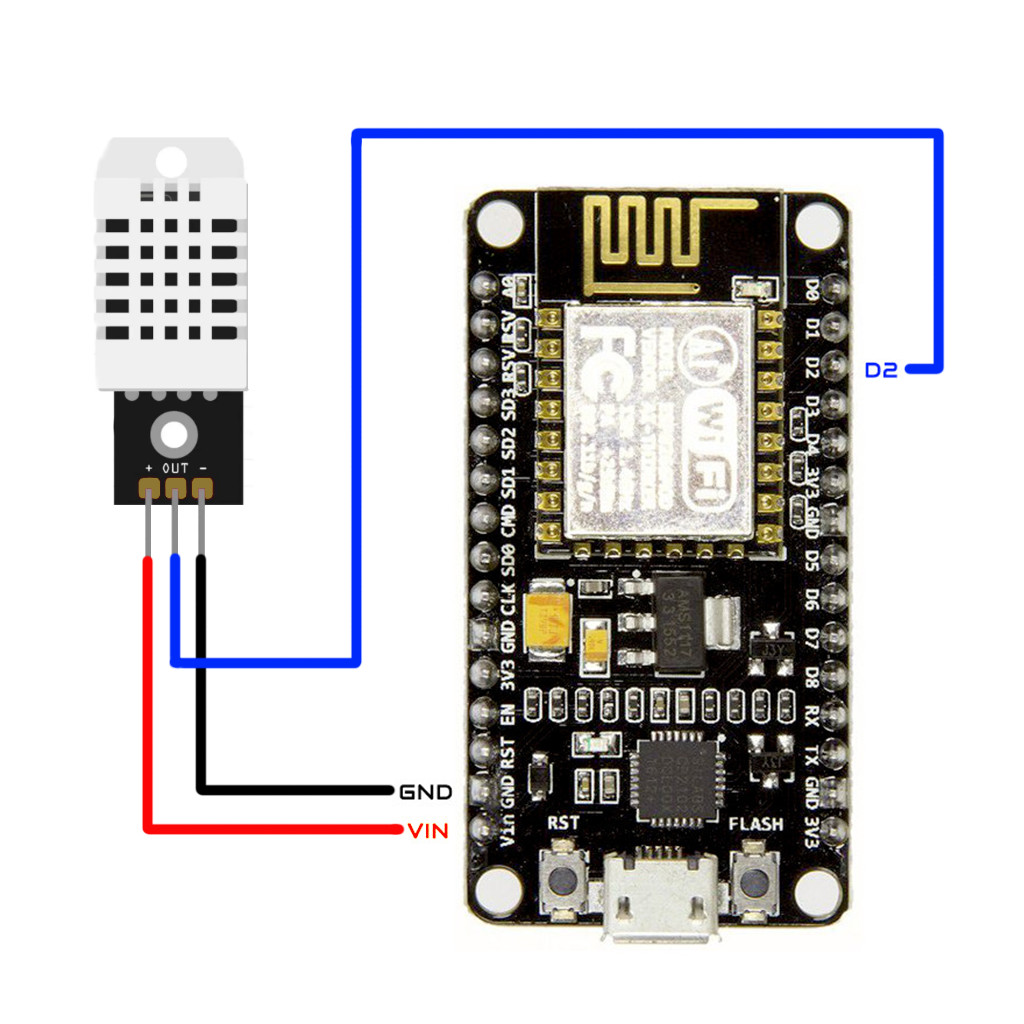
Step 1 – Wire It Up
Here’s the wiring diagram. Only 3 wires. There are multiple Ground, Voltage, and Digital pins on the NodeMCU. You can use whichever ones tickle your fancy. The DHT22 temp/humidity sensor will even work with 5V from the VIN pin or 3.3V from a 3V3 pin. Just make sure you remember which digital pin you chose because you’ll need it to configure the sensor in ESPHome.
Step 2 – Initial Setup / Wifi Connect
In Home Assistant, open the ESPHome Addon. If you don’t already have it installed, search for it in Home Assistant under Settings-> Add-ons-> Add-on Store (button on the bottom right).

Once it’s installed and “started”, the setup page should look like this:
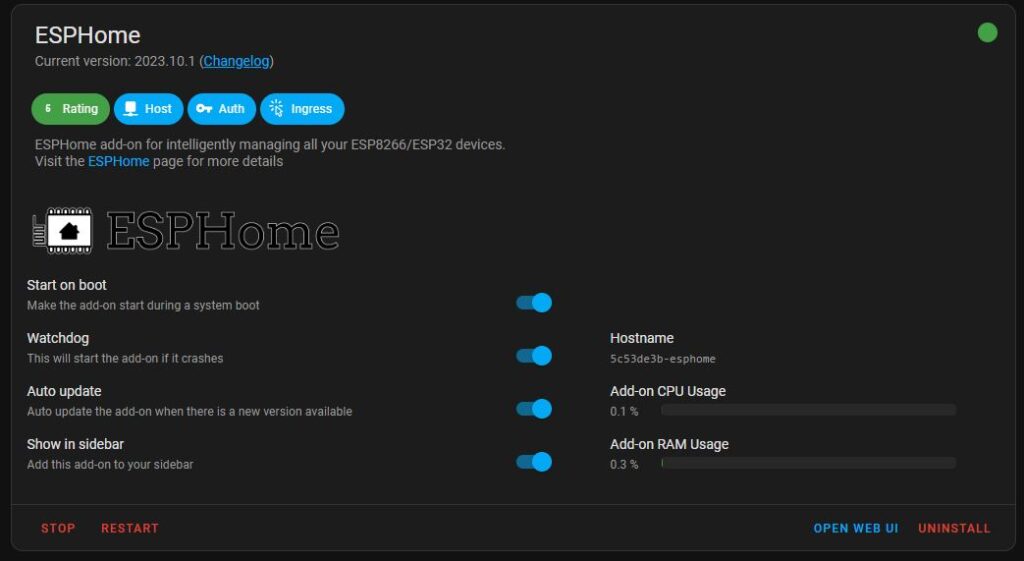
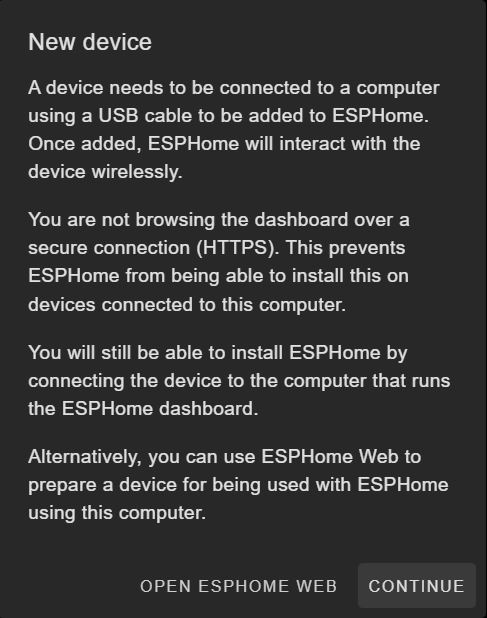
Open ESPHome by clicking “Open Web UI” or the “ESPHome” sidebar menu if you have it enabled. Click the green “+ New Device” button to start configuring the dryer sensor. This dialog box will appear.
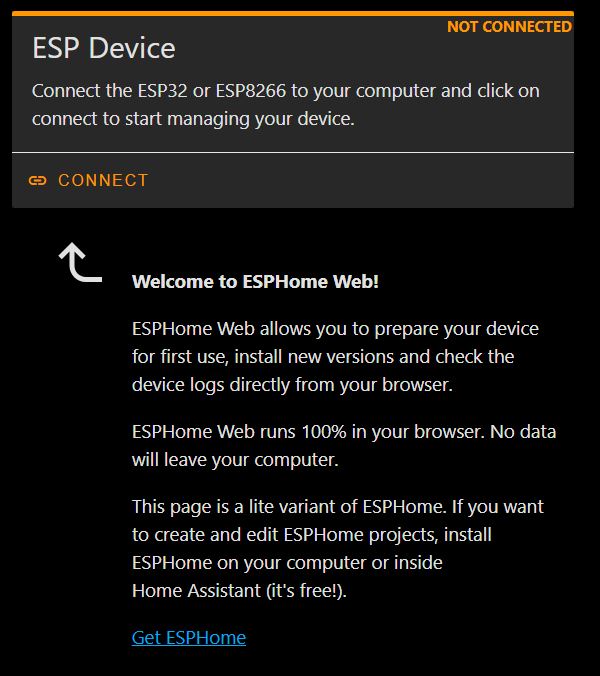
Because most of us are running our Home Assistant server on a remote computer and accessing it through a browser on the network from a different computer, we can’t just plug it into the USB port and flash it through Home Assistant. But fortunately ESPHome has a cool browser based flash utility we can use now.
Click “Open ESPHome Web” to get started.
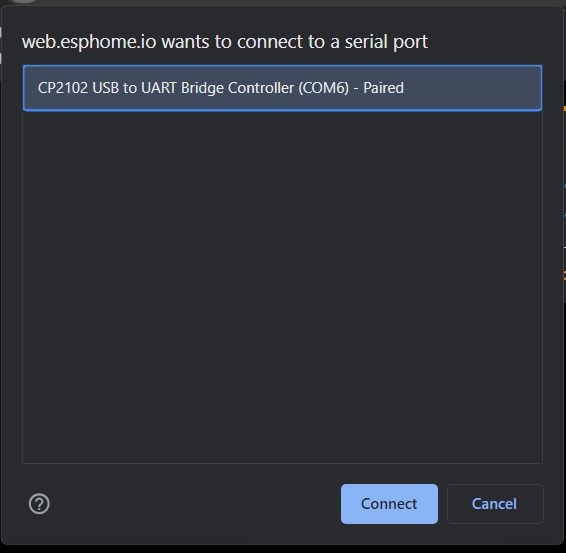
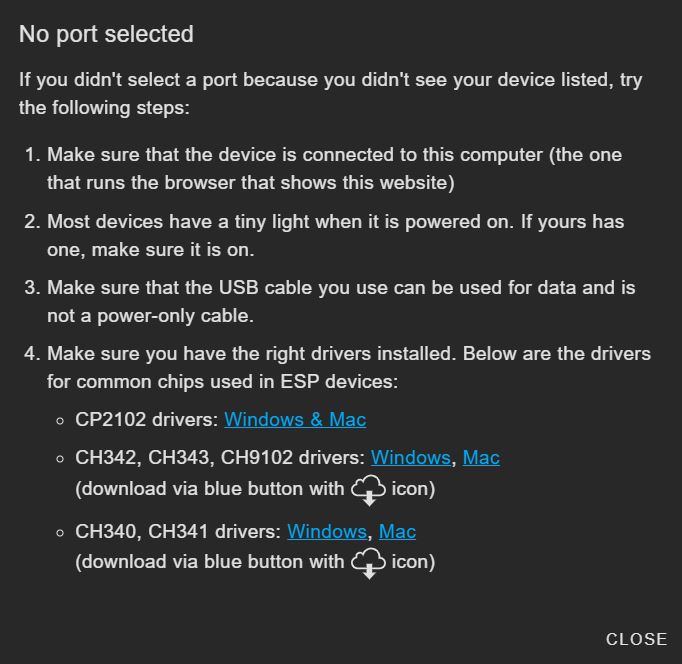
Connect your ESP Device to your USB port on the same computer you are visiting ESPHome Web on and click “connect”. Select the COM port associated with your device and click “connect” again. If no port is displayed, you probably need to install USB drivers. ESPHome Web conveniently provides links to the most common drivers if you need them. I also copied the list here.
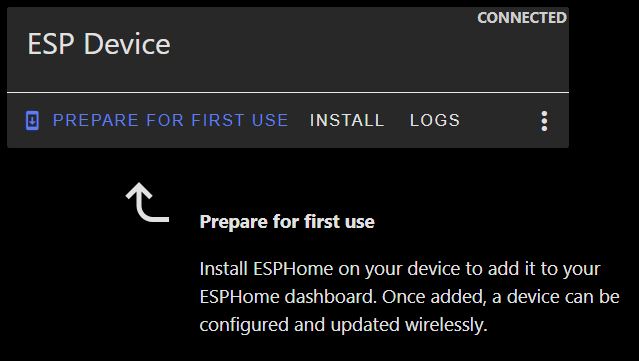
Once you are connected to the device, click “prepare for first use” to flash it with a basic ESPHome firmware and get it connected to your network.
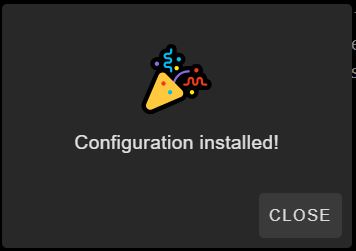
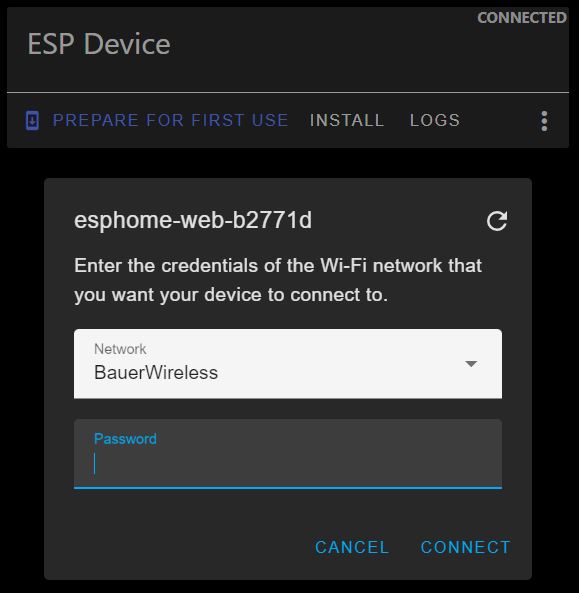
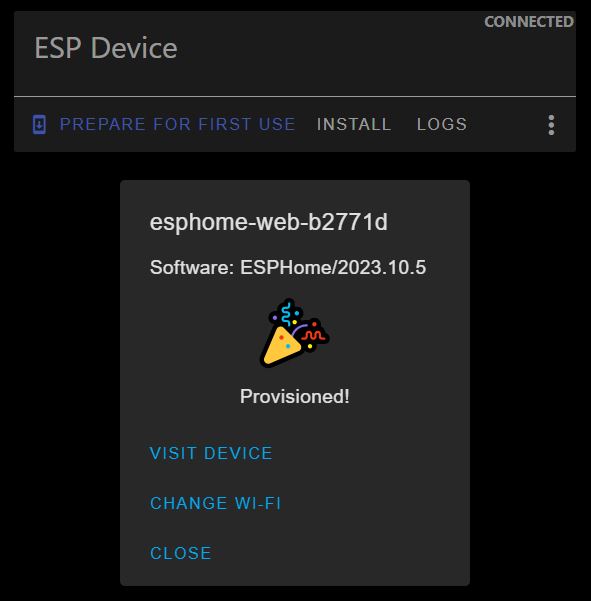
After installing, it should automatically prompt you for your Wifi credentials. If not, click the 3 dots and chose “configure Wifi”. If you get a “port not ready” error you may need to cycle power on the device and wait a minute. Input your credentials and click “connect”. Once connected, you’ll get a confirmation message that it was provisioned.

Step 3 – Integrating with Home Assistant
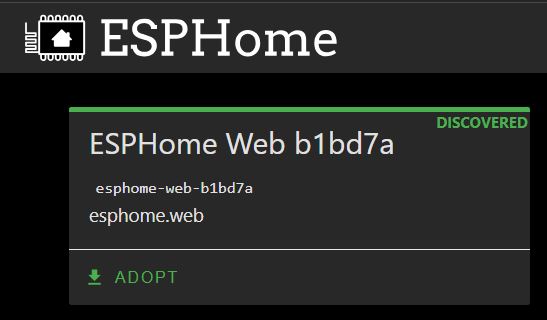
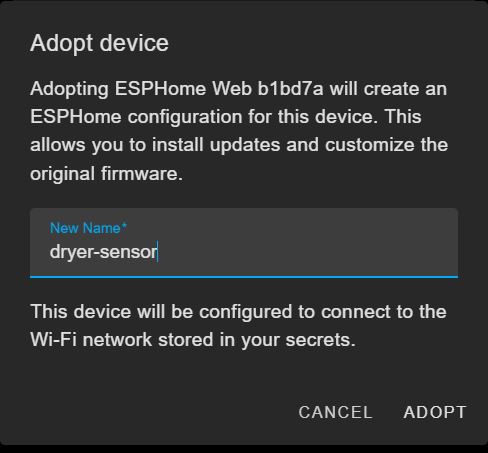
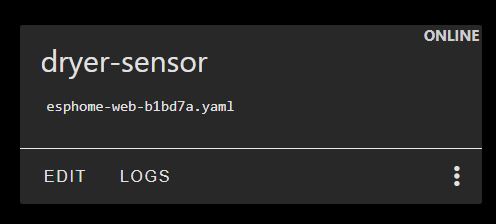
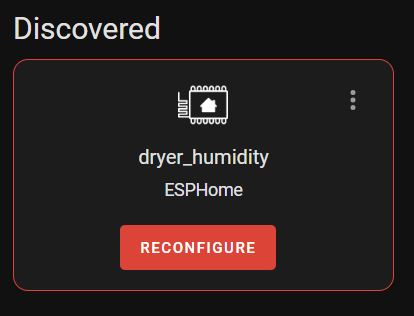
Now head back to your ESPHome Dashboard in Home Assistant and you should see the new device automatically discovered. Click adopt and give the device a name (following the ESPHome naming rules) and click adopt again.
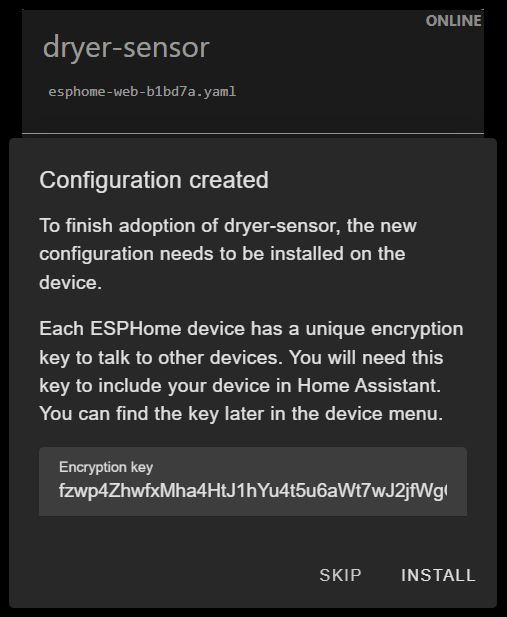
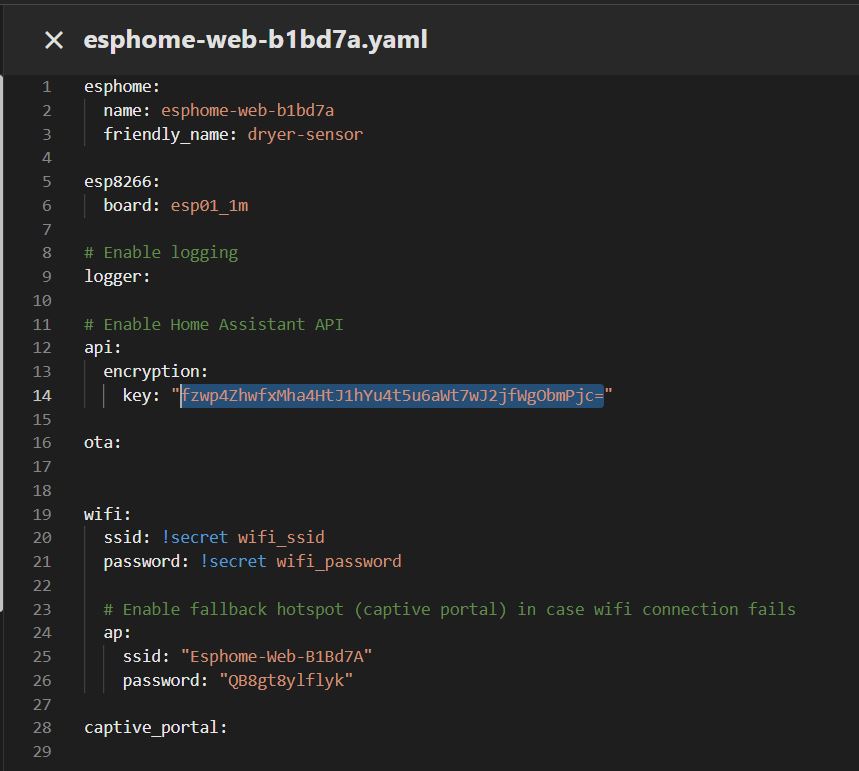
It will rename the device and generate an encryption key that Home Assistant will use to connect to it. This key replaced the OTA Access Password that used to be used. Click “Install” to update the firmware with these changes.
Now’s a good time to enjoy a cup of coffee.
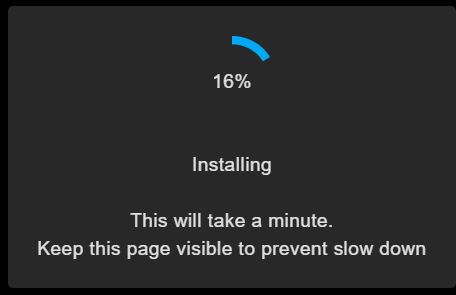
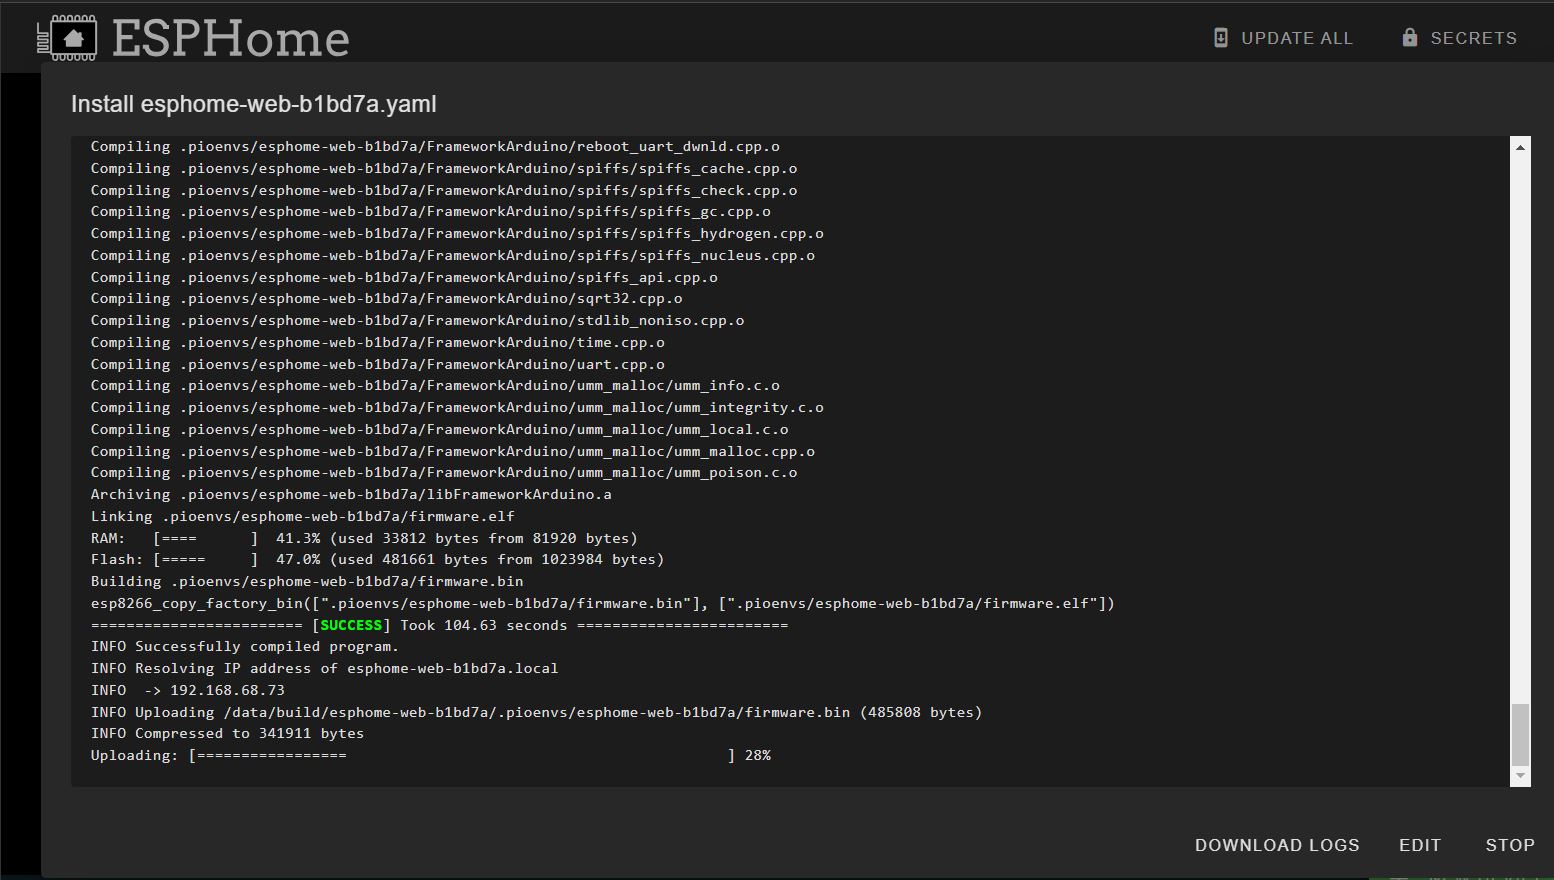
It’ll take a few minutes for ESPHome to compile the binary file. It needs to download some libraries and then convert the config file into machine language the microcontroller can understand (1s and 0s). The first compile is always the slowest; future updates go much faster.
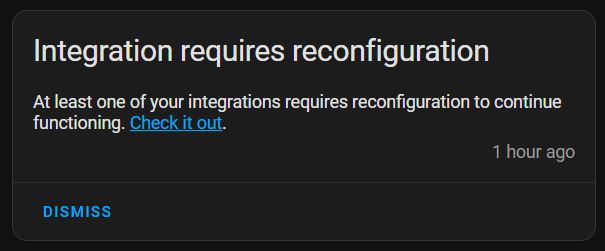
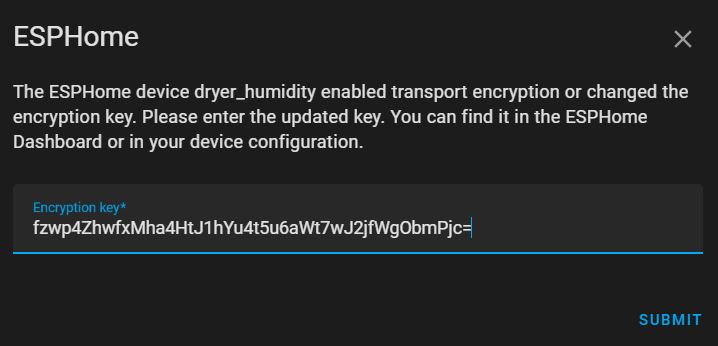
If you get a “HANDSHAKESTATE_READ_FAILED errno=11″” error after the flash and Home Assistant notifies you the integration needs reconfiguration, you will have to manually tell Home Assistant what the Encryption Key is.

Step 4 – Configuring the Sensor
Now that the ESP Device is talking with Home Assistant, let’s get it configured so it does something useful. Click “edit” under the device to bring up the configuration YAML.
Modify the “friendly name”, and “board” as shown.
Then Add the DHT sensor config at the bottom.
Configuration information specific to the DHT22 can be found here and my YAML files are at the bottom of this page if you want to copy and paste.
Once you are done, click “install” and flash the new configuration “wirelessly“.
Step 5 – Adding it to Your Dashboard
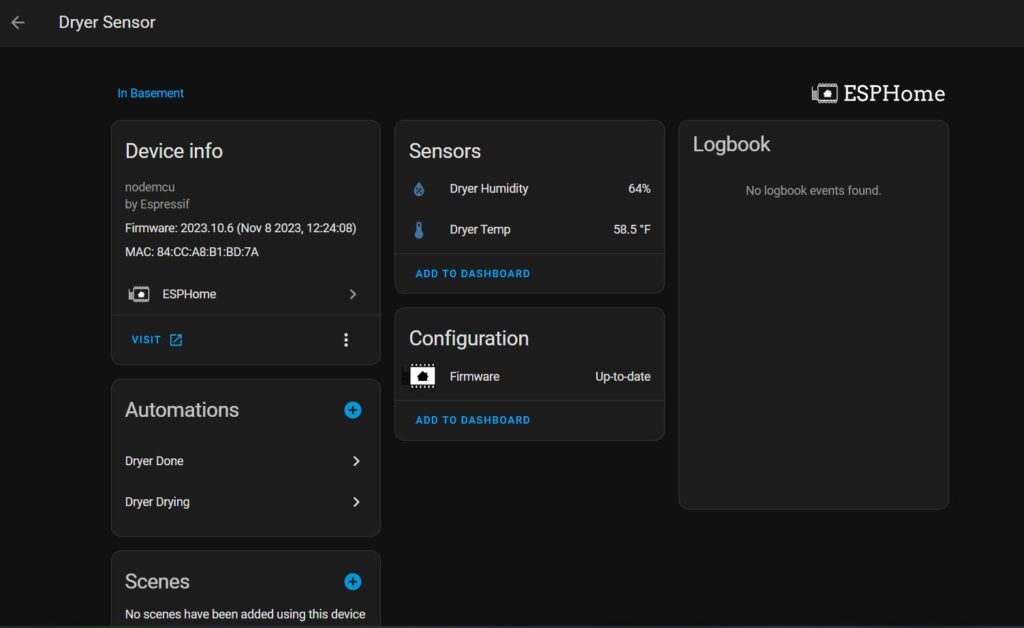
Now that the device and sensors are set up, you should be able to see them in Home Asssistant under Settings-> Devices and Services -> ESPHome and clicking on the device. From here you can add the temp or humidity entities to your dashboard, create automations, scenes, scripts, etc.
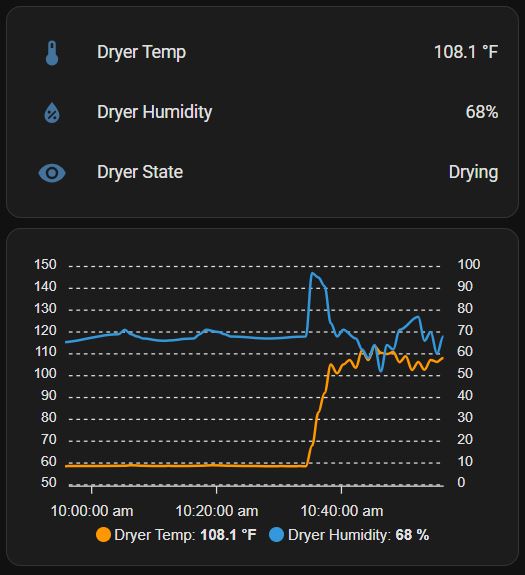
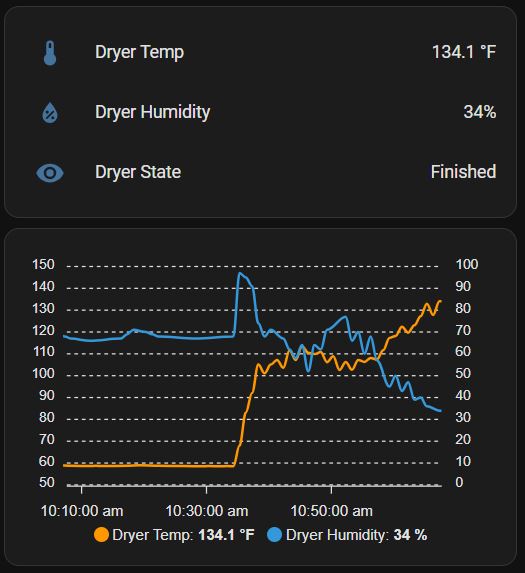
I also created an MQTT sensor by adding this code to my configuration.yaml file that updates to “Idle”, “Drying”, or “Finished” based on the temperature. The automations are below for reference.
This is how the dryer section of my dashboard looks while it’s drying and when finished. The graph is using “Apex Charts” from the Home Assistant Community Store (HACS).
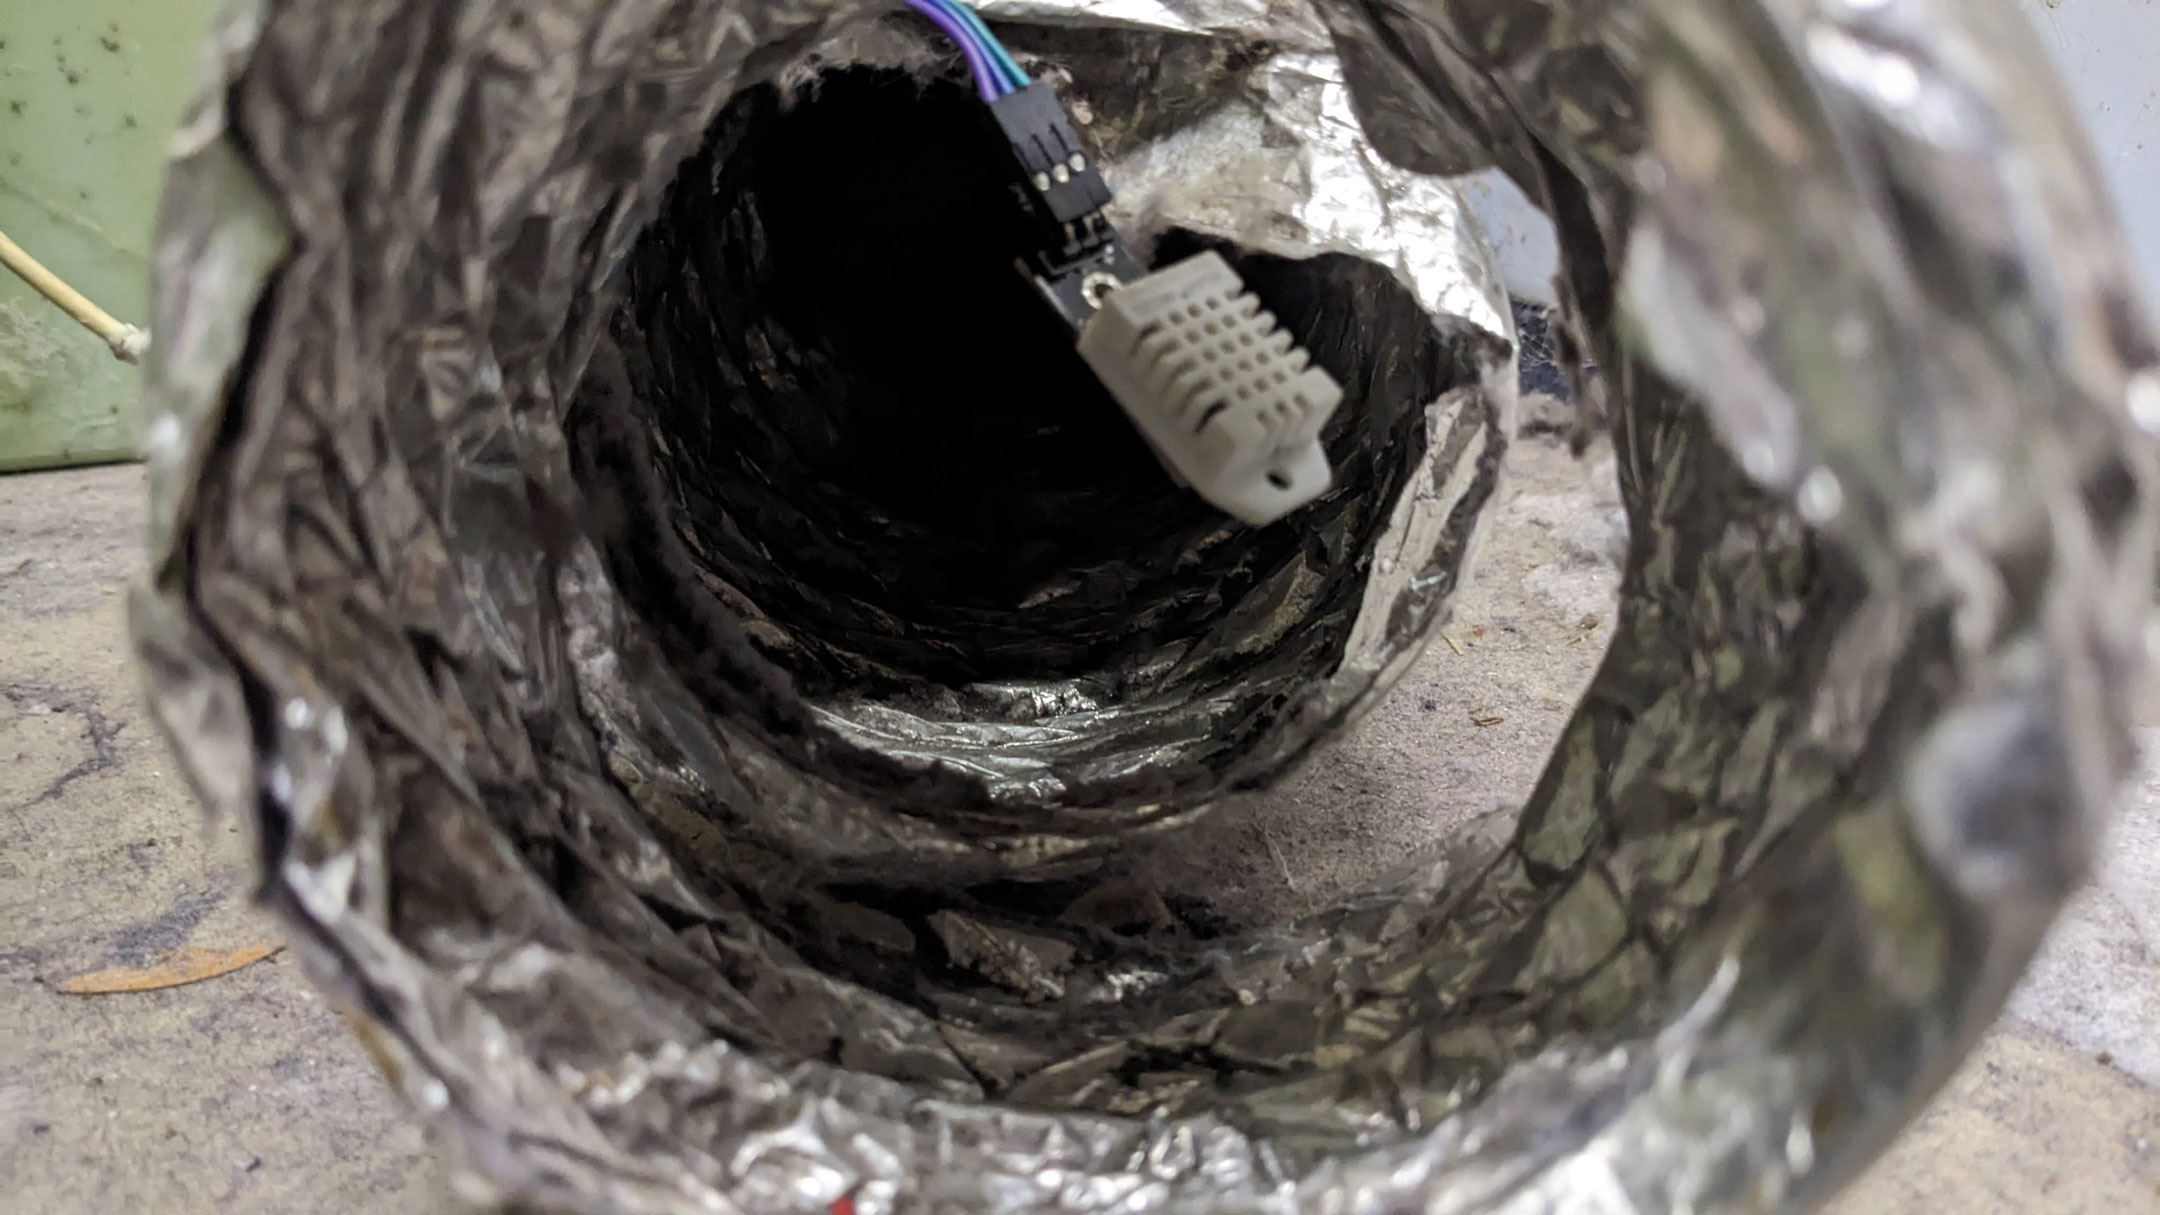
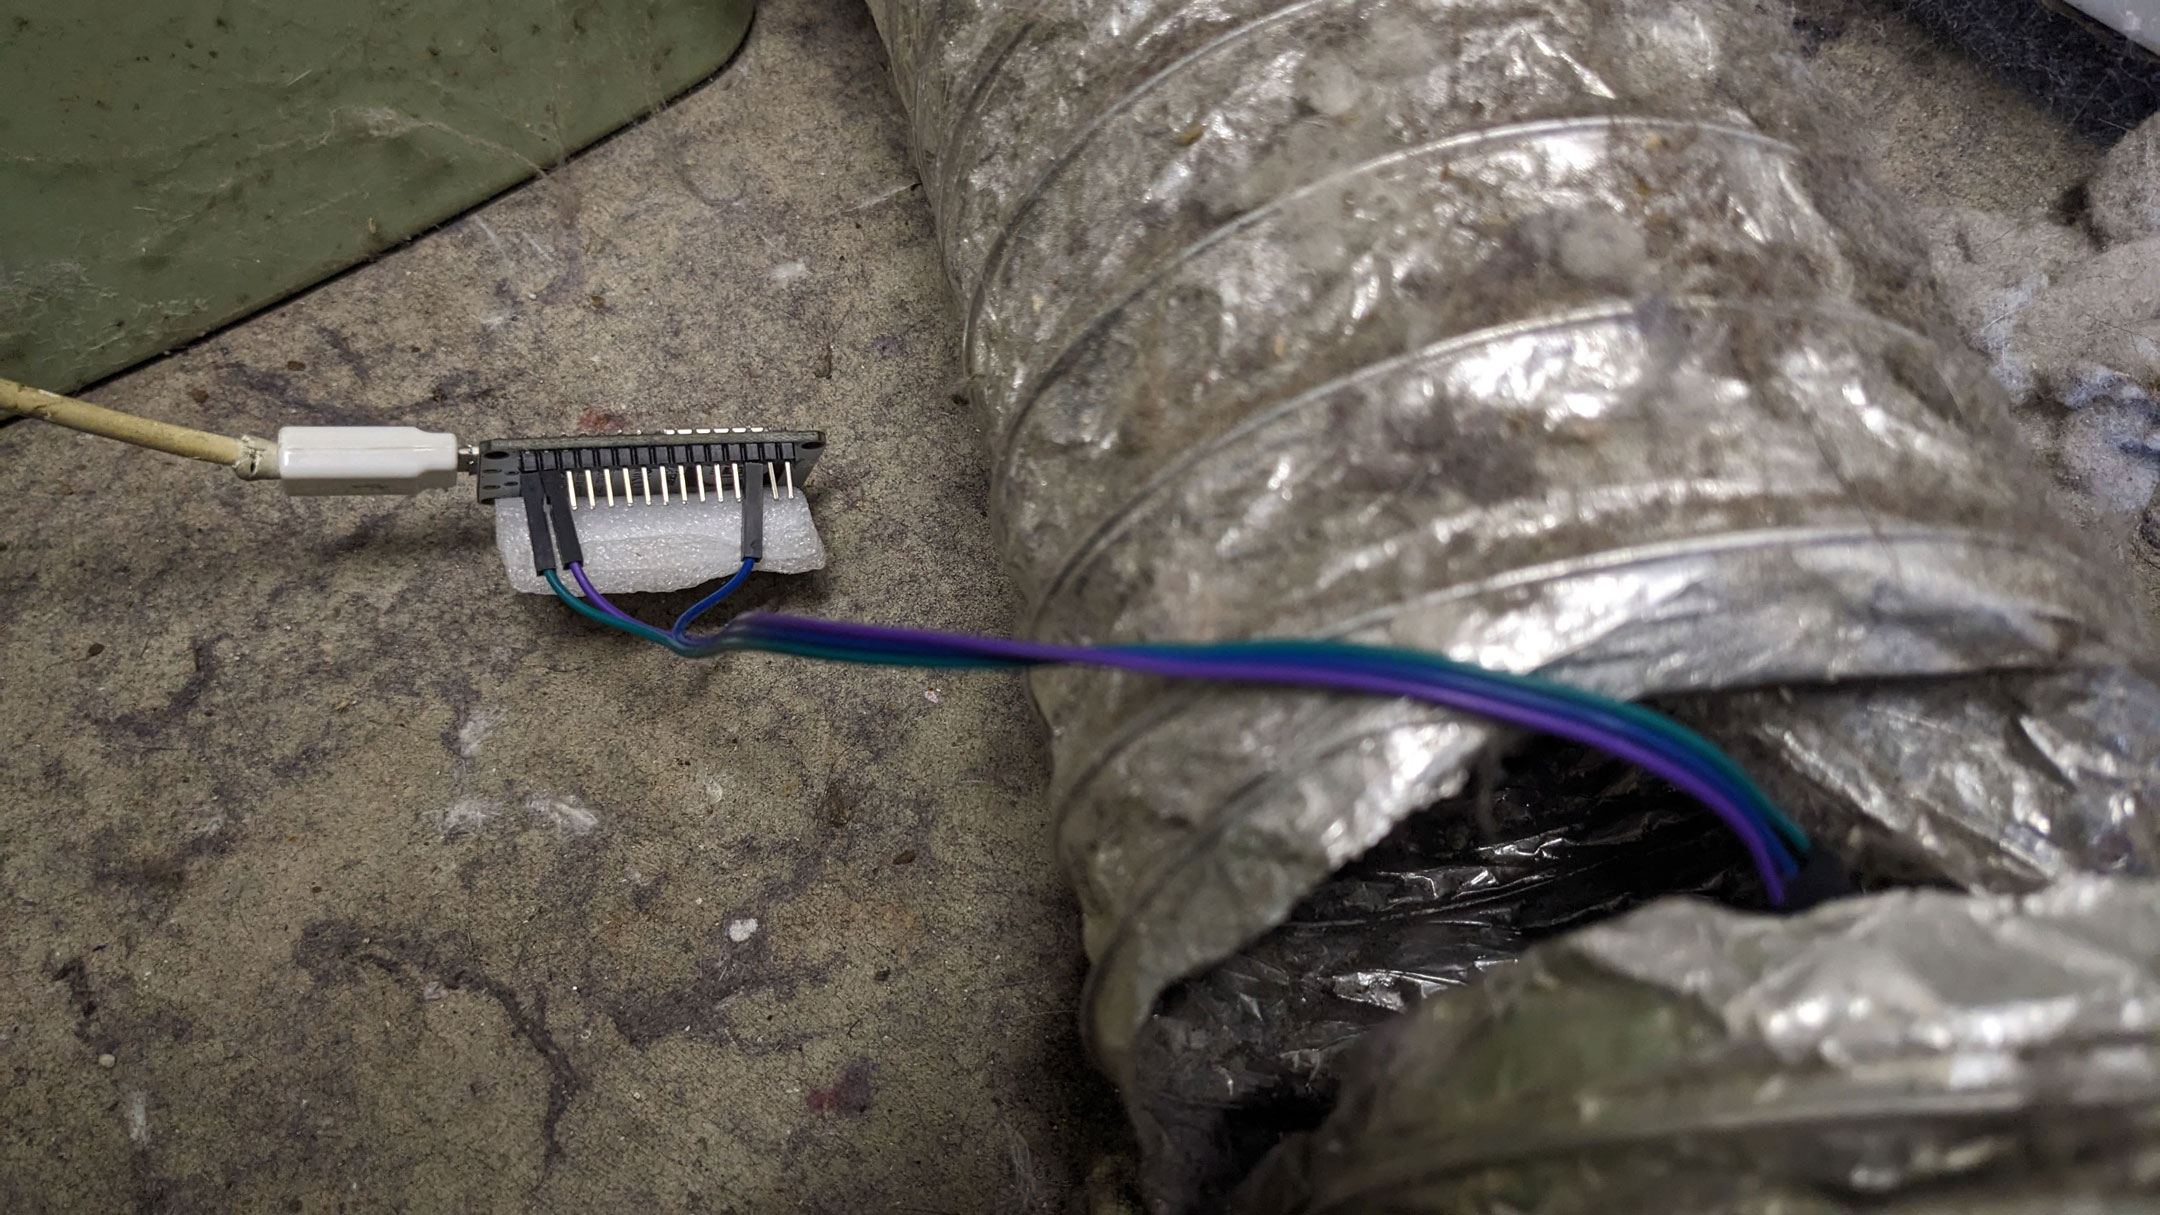
I didn’t get fancy with the installation. I just poked a hole and dangled it inside my dryer. These things are so inexpensive I really didn’t care if it failed. And 3 years later, it’s still working like a champ.
Here’s some pics. Don’t judge my lint mess. Lol.
Conclusion
Even if you have an old and rickety appliance like my dryer, it’s pretty easy to add a few inexpensive electronics to it to make it a little smarter. Most “smart” appliances on the market these days require the use of their proprietary phone app and really don’t add much value when it comes to convenience or “real world” benefits in my opinion. Usually it’s a “feature” they add so they can charge more. A few sensors coupled with Home Assistant seems to accomplish the same thing while being controlled locally on your home LAN at a fraction of the price.
I hope this helps. If you have any questions or comments, feel free to let me know!
Thanks for visiting!
YAML Files For Reference
ESPHome Configuration YAML
					esphome:
  name: esphome-web-b1bd7a
  friendly_name: Dryer Sensor

esp8266:
  board: nodemcu

# Enable logging
logger:

# Enable Home Assistant API
api:
  encryption:
    key: "fzwp4ZhwfxMha4HtJ1hYu4t5u6aWt7wJ2jfWgObmPjc="

ota:

wifi:
  ssid: !secret wifi_ssid
  password: !secret wifi_password

  # Enable fallback hotspot (captive portal) in case wifi connection fails
  ap:
    ssid: "Esphome-Web-B1Bd7A"
    password: "QB8gt8ylflyk"

captive_portal:

sensor:
  - platform: dht
    pin: D2
    model: DHT22
    temperature:
      name: "Dryer Temperature"
    humidity:
      name: "Dryer Humidity"
    update_interval: 60s
Dryer Drying Automation
					alias: Dryer Drying
description: ""
trigger:
#If the temperature is above 90*F, publish MQTT state  of "Drying".
  - platform: numeric_state
    entity_id:
      - sensor.dryer_sensor_dryer_temperature
    above: 90
condition: []
action:
  - service: mqtt.publish
    data:
      qos: 0
      retain: true
      topic: dryer/state
      payload: Drying
mode: single
Dryer Finished Automation
					- id: '1609831707641'
  alias: Dryer Done
  description: ''
  trigger:
# If dryer humidity drops below 37% but temp is still above 120*,
# and the MQTT sensor isn't already "Finished", adjust speaker volume,
# announce finished, and publish MQTT sensor state.
  - platform: numeric_state
    below: '37'
    for:
      hours: 0
      minutes: 2
      seconds: 0
    entity_id: sensor.dryer_sensor_dryer_humidity
  condition:
  - condition: numeric_state
    entity_id: sensor.dryer_sensor_dryer_temperature
    above: '120'
  - condition: not
    conditions:
    - condition: state
      entity_id: sensor.dryer_state
      state: Finished
  action:
  - service: media_player.volume_set
    data:
      volume_level: 0.75
    target:
      device_id: 42ee9e9bbd5c2efd39ff8ea34d2a7112
  - service: tts.google_translate_say
    data:
      entity_id: media_player.livingroomhub
      message: Dryer should be done.  Time for some folding!
  - service: mqtt.publish
    data:
      qos: 0
      retain: true
      topic: dryer/state
      payload: Finished
  mode: single
Dryer Idle Automation
					- id: '1699553207598'
  alias: Dryer Idle
  description: ''
# If temp drops below 90* for 2 minutes, and the MQTT state is "Finished", set state to "Idle"
  trigger:
  - platform: numeric_state
    entity_id: []
    for:
      hours: 0
      minutes: 2
      seconds: 0
    below: 90
  condition:
  - condition: state
    entity_id: sensor.dryer_state
    state: Finished
  action:
  - service: mqtt.publish
    data:
      qos: 0
      retain: true
      topic: dryer/state
      payload: Idle
  mode: single
Apex Chart
					type: custom:apexcharts-card
graph_span: 1h
all_series_config:
  stroke_width: 2
header:
  show: false
  title: Dryer
  show_states: true
  colorize_states: true
yaxis:
  - id: temp
    decimals: 0
    min: 50
    max: 150
    apex_config:
      tickAmount: 10
  - id: humidity
    decimals: 0
    min: 0
    max: 100
    opposite: true
    apex_config:
      tickAmount: 10
series:
  - entity: sensor.dryer_sensor_dryer_temperature
    yaxis_id: temp
    fill_raw: last
  - entity: sensor.dryer_sensor_dryer_humidity
    type: line
    yaxis_id: humidity
    fill_raw: last
Join the Geek Community
Bauer Power is not just about tutorials; it’s also about connecting with like-minded individuals. Become a member of the Bauer Power Community to join the discussion and connect with fellow tech Geeks, share your projects, ask questions, and learn from others. The Geek forums are a great place to connect with experts and beginners alike.